I do my best to cook most of the food Evan and I eat (we do make an exception on Friday nights, when we go out to our favorite restaurant, the Neptune…


I do my best to cook most of the food Evan and I eat (we do make an exception on Friday nights, when we go out to our favorite restaurant, the Neptune…
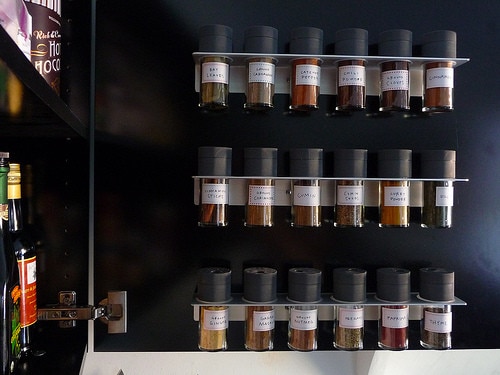
This is one of those things I’ve been meaning to do for years, literally—I finally got my spice situation organized! I bought three RATIONELL VARIERA spice racks from IKEA, mounted them inside…
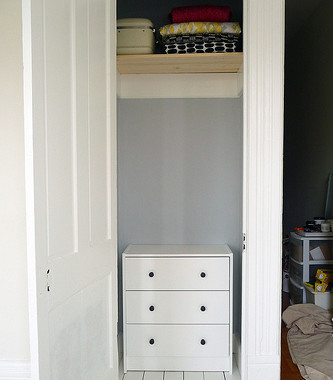
I was so excited about the floor yesterday that I forgot to show the inside of the closet! I like to make the small spaces in my house (like the vestibule and…
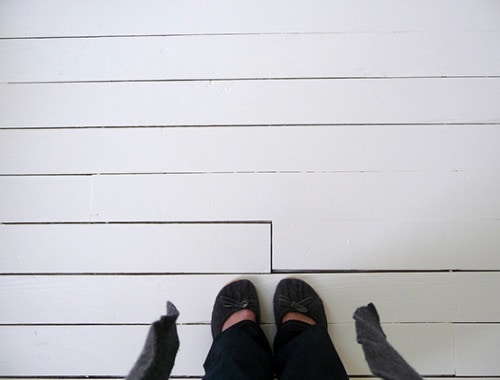
The floor in the back room is finished, and it is beautiful. I couldn’t be happier. What used to be the dirtiest, most neglected and depressing room in the house is now…
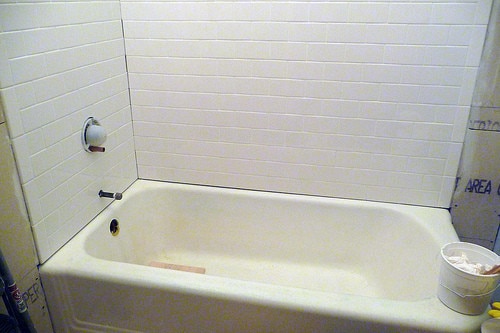
The grouting is FINISHED. (The gaps in the corner and the around the tub will be caulked later.) I’m exhausted. What a weekend! I need to sleep. p.s. Photos of the painted…
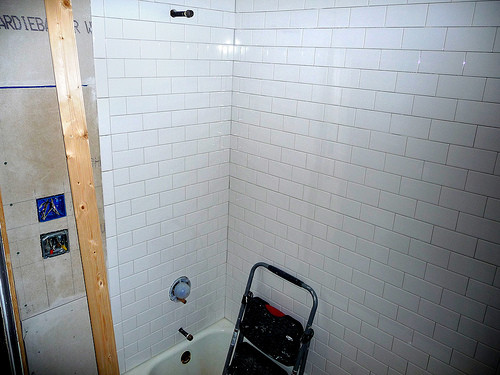
Well, almost done. Tomorrow we have to grout them. So far, this project has gone much better than I expected it to. Still to come in the bathroom: → hang drywall in…

Ferm Living is having a recession remodel sale (60% off!) on many of their Collection 2 wallpapers! Yay. I may be running out of things to wallpaper, but that didn’t stop me…

I didn’t want Fritz’s birthday to overshadow the inauguration (it’s difficult when two events of equal global importance fall on the same day!), but it’s almost midnight, so I have to hurry…