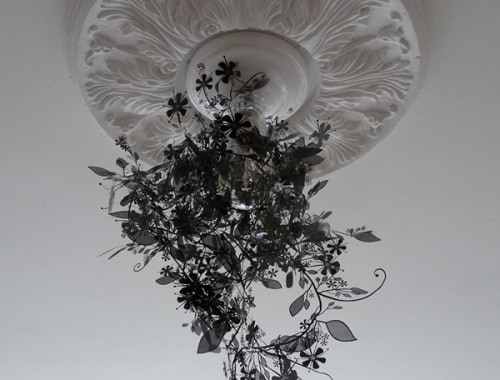
I’ve had a Tord Boontje Garland light (this is the black chrome finish) for several years, but for the most part it’s just been sitting in a tangled clump in a box…

I’ve had a Tord Boontje Garland light (this is the black chrome finish) for several years, but for the most part it’s just been sitting in a tangled clump in a box…
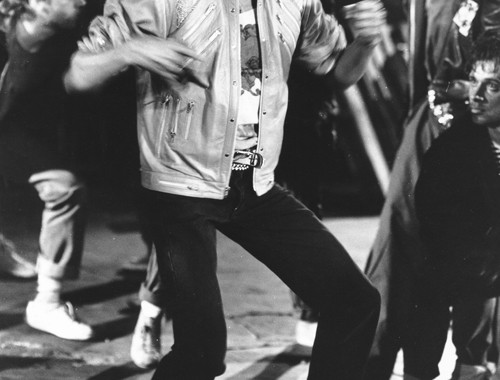
(Photo by Chris Walter, 1983) I don’t normally post things like this, but I am feeling so sad right now that I don’t know what else to do. Bear with me. I’m…
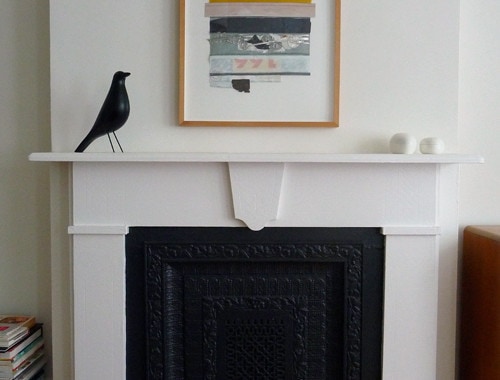
This is one of those DIY projects that kind of makes you feel like a jerk while you’re planning it, but the end result is so good that the shame is worth…
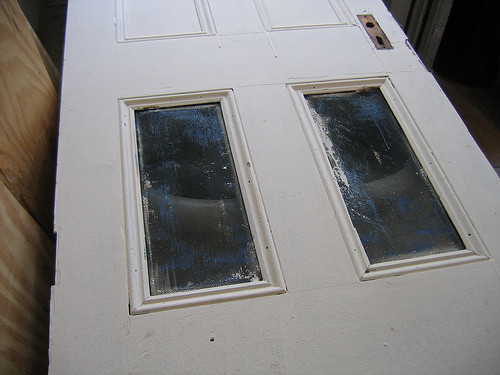
All I’ve been working on lately are DOORS. Doors, doors, and more doors. Scraping, sanding, patching, caulking, priming, painting, hanging, fixing locks, fixing hinges, fixing knobs, and so on. (I must say,…
Huh. I started putting this post together 4 or 5 days ago, and I guess I thought I had already finished it? I have no idea. It’s been a weird week. I…
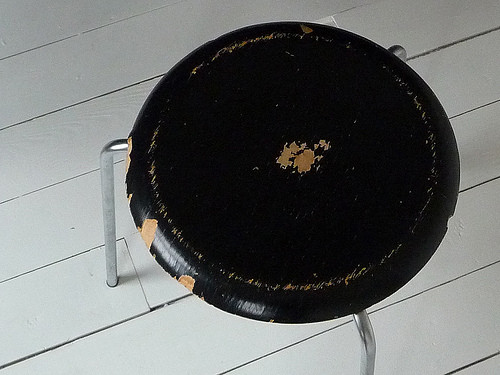
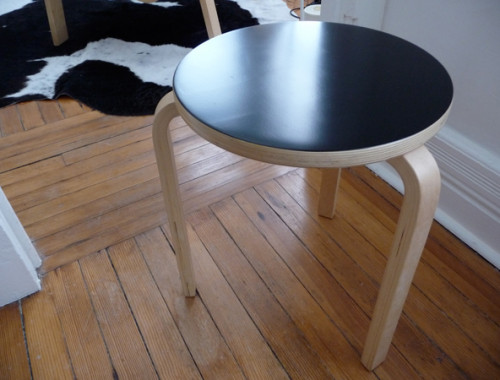
I bought this 3-legged Arne Jacobsen stool several years ago for about $10 (yes, seriously), and despite having initially planned to repair and refinish the molded plywood top, years passed and I…
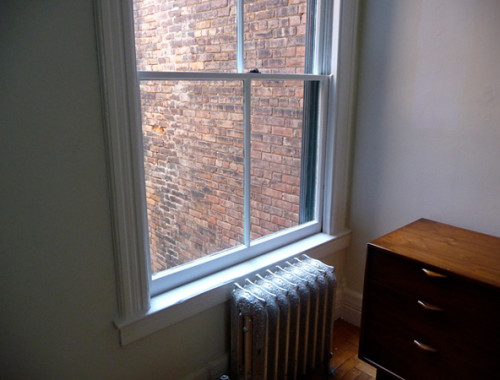
The bedroom has been moved back to the front of the house (here!), and the room is starting to take shape. Stay tuned……
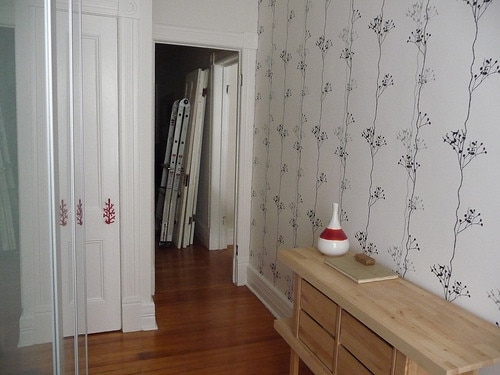
Let’s see…I started talking about wallpapering this room in October 2007, got around to buying the paper in September 2008, and then FINALLY managed to actually go ahead with the task on…