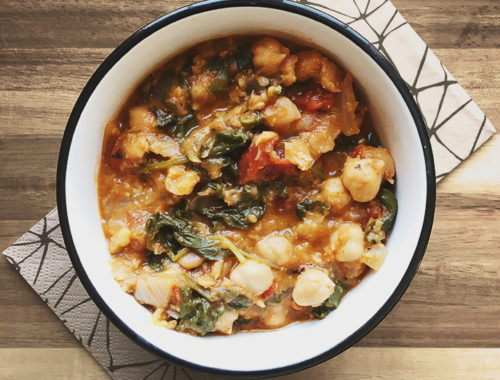
Lately I’ve been trying to simplify my lunches by making large dinners at the beginning of the week and then reheating the leftovers. This chickpea and spinach stew is something I adapted…

Lately I’ve been trying to simplify my lunches by making large dinners at the beginning of the week and then reheating the leftovers. This chickpea and spinach stew is something I adapted…
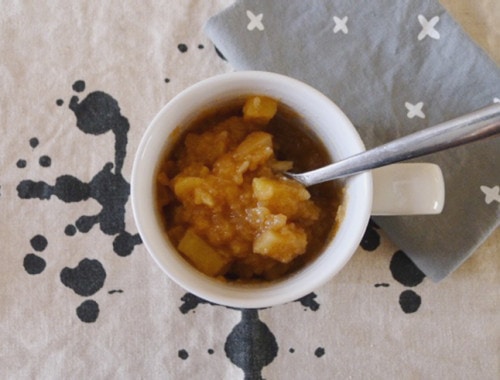
This post was supposed to be about the wonderful latkes and applesauce I made for Hanukkah, but it’s just about the applesauce. I read something somewhere the other day about how you…
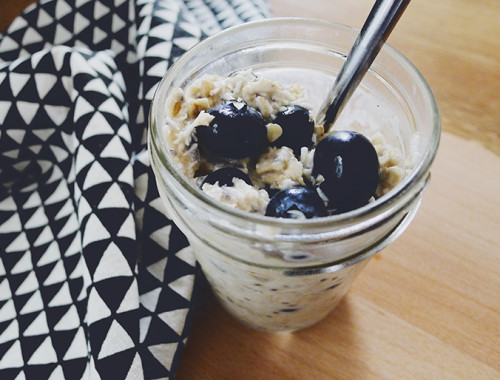
Overnight oats are nothing new, but they’ve always kind of been one of those things that I make all the time in my mind, yet in reality I’d only had them one…
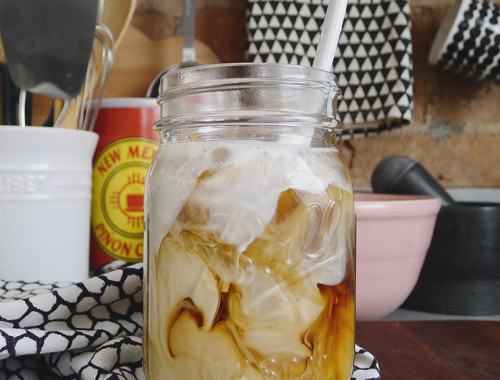
On a recent trip to New Mexico, I was introduced to something called piñon coffee, specifically that from the New Mexico Piñon Coffee Company in Albuquerque. It’s Arabica coffee blended with piñon…
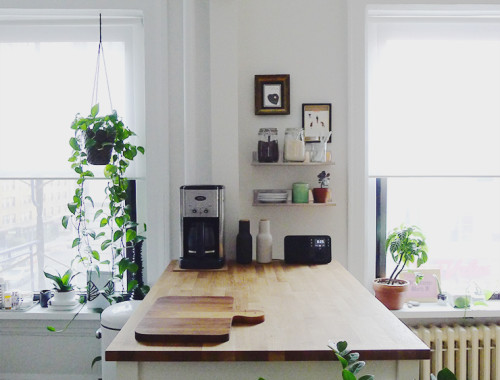
The kitchen in the new (ahem, “new”) apartment is more of an area than a designated room. You can see what I mean in the floor plan and photos from the real…
(A recurring theme on my blog is me posting things while thinking to myself, “I bet every other blogger and their dog has already covered this ground, but who cares, I’m going…
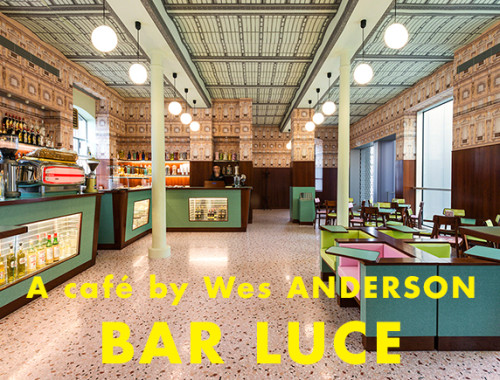
One of the things I’m hoping to accomplish with my new blogging schedule is taking the time to post about graphic design I love. Despite the fact that I design stuff for…

Photo: ‘Open All Night, East Village, NYC’ by Shawn Hoke I woke up this morning to the sad news—delivered by the excellent EV Grieve blog—that Yaffa Cafe has officially ceased to exist.…