It’s been more than five years since my last mascara post, and in that time I’ve bounced from Ardency Inn’s Punker (which was discontinued, and since then the brand seems to have…
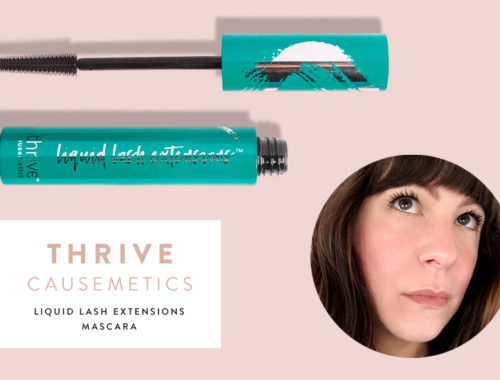

It’s been more than five years since my last mascara post, and in that time I’ve bounced from Ardency Inn’s Punker (which was discontinued, and since then the brand seems to have…
Do you remember where you were when Jessie Randall’s living room was on the cover of Domino? The year was 2006. Door Sixteen was a newborn, and Domino magazine was IT. When…
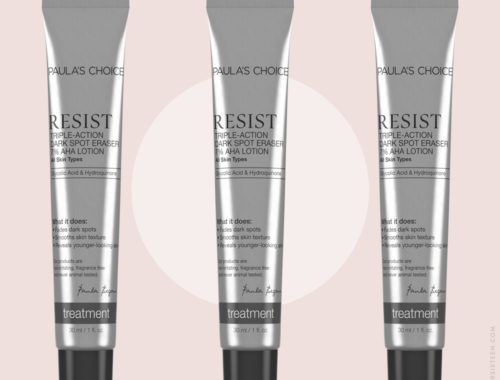
Without question, the number one thing I’m asked on Instagram is about what my skin care routine is. I’ll put together a full post detailing all of the steps and products in…
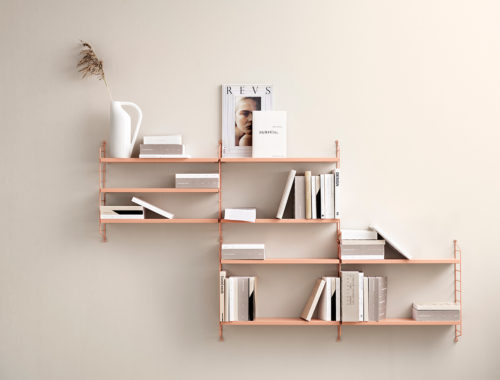
I wasn’t planning on posting anything this weekend, but I was just looking at Finnish Design Shop (for something completely unrelated), and what’s this…? String shelves now come in BLUSH?!? Ohhhh my.…
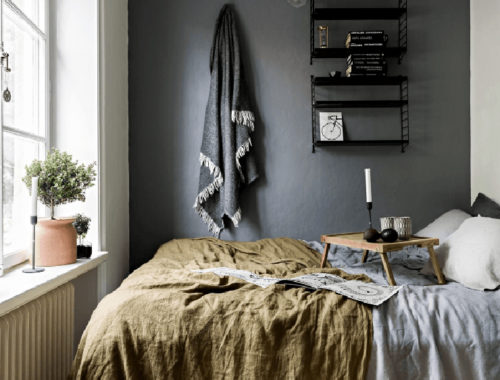
Photo by Dabito for Justina Blakeney‘s The New Bohemians I have a thing for tiny bedrooms. I guess it’s because I’ve never really understood the need for a large bedroom, since it’s…
Oh, hi there! What have you been up to for the past…nine months? For the last few days, I’ve been working on redesigning my blog. This blog. Because I miss it. I…
One of the many things I’ve let slip by the wayside this past year is my Society6 shop, K is for Black. In part it’s because of the time/stress continuum, but if…
Do you have a recurring stress dream? I do. When I’m feeling overwhelmed, I dream about animals—pets, specifically. Too many pets. In my recurring dream, there is a menagerie of animals from…