I know I already covered the “before and after” phases of the dressing room in part three of my house birthday posts, but last night I came across some “during” photos (I…
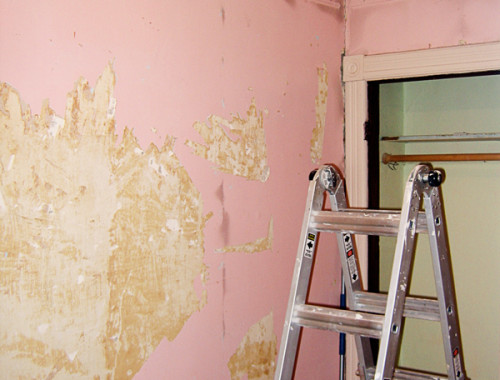

I know I already covered the “before and after” phases of the dressing room in part three of my house birthday posts, but last night I came across some “during” photos (I…
The fourth installment in my birthday tribute to my house is devoted entirely to one part of one room, the three windows in the bowed front of the living room. There are…
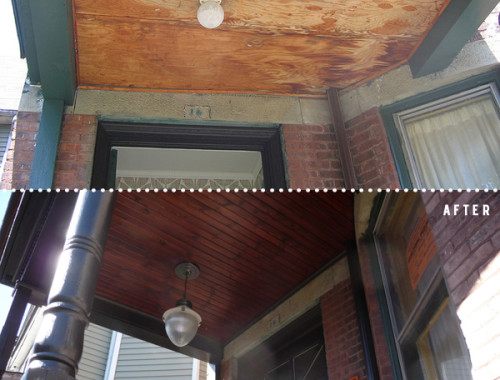
Part three of my house’s birthday retrospective is dedicated to the little spaces that are so often forgotten: The closets, hallways, pantries, entryways, and other areas that we take for granted by…
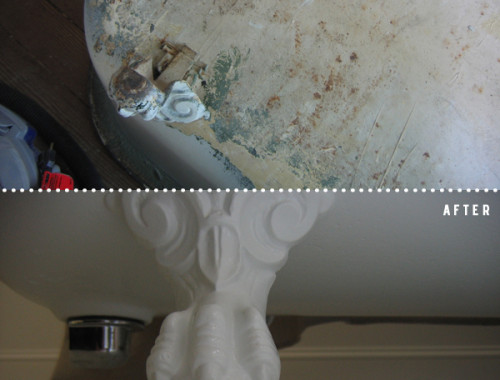
Part two of my little birthday celebration for our house is devoted entirely to the bathrooms. Seldom has any home renovation project taken quite as long as these two did. We spent…
Five years ago this month, Evan and I were living in agony as we waited…and waited…and worried…and waited some more to hear about whether we were indeed going to be able to…