Yay! It’s the finished dining room! I’m really, really pleased without how the floating banquette turned out. Pretty much every day I marvel at how it looks like it’s always been there.…
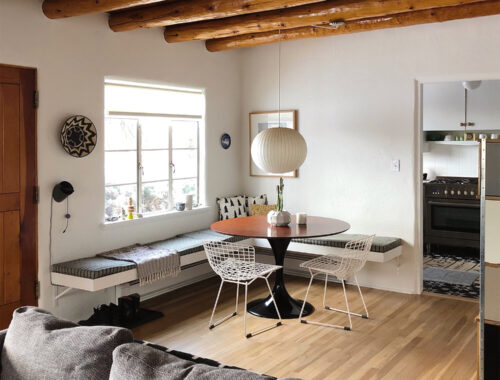

Yay! It’s the finished dining room! I’m really, really pleased without how the floating banquette turned out. Pretty much every day I marvel at how it looks like it’s always been there.…
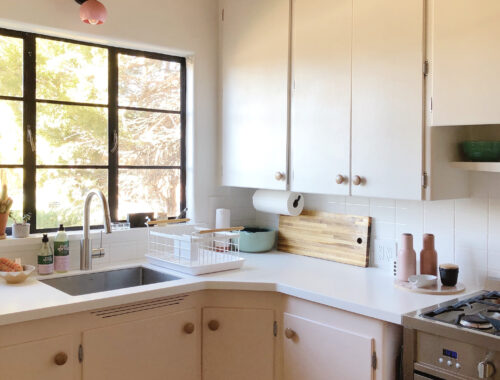
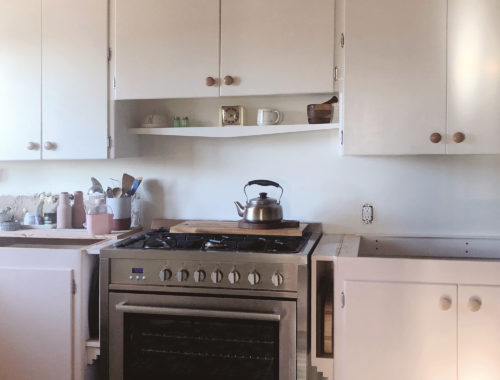
A mere seven months after my last kitchen renovation update, at last! The final reveal! In real-life, I “finished” the kitchen last January, but of course you never actually finish a renovation…
Oy! I am SO sorry it’s taken me as long as it has to get this post up! I got the photos ready last Wednesday, and then spent five days trying to…

Now, I know what you’re thinking looking at this photo: That backsplash looks great already, Dorfman, why in the world would you want to tile over it? (Am I close?) Well, I’m…
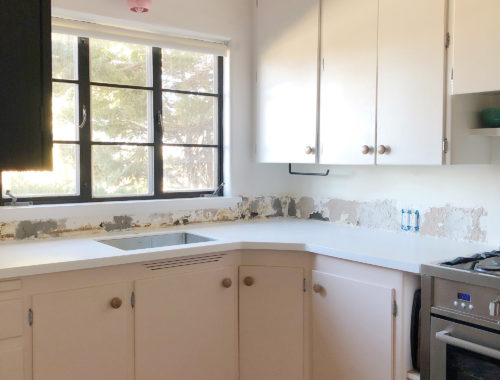
Once Manuel finished the new cabinets and I built the storage cubbies, it was finally time to get the new kitchen countertops underway! Since it’s really not possible to do accurately when…
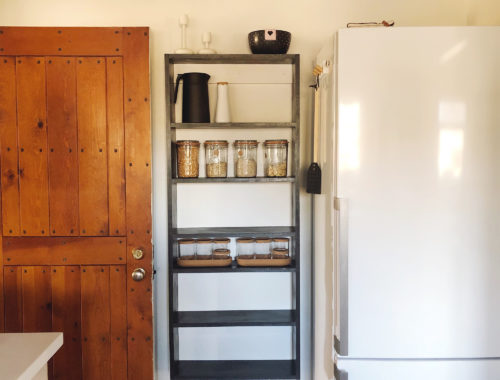
November 2019 When I shared the photos of the new lower cabinet, a few of you smarties wondered what I might do to fill in the remaining gap on either side of…

October–November 2019 Along with demolishing the old countertops (and, obviously, fabricating and installing the new ones), the other part of the kitchen renovation project we decided to hire out was the construction…
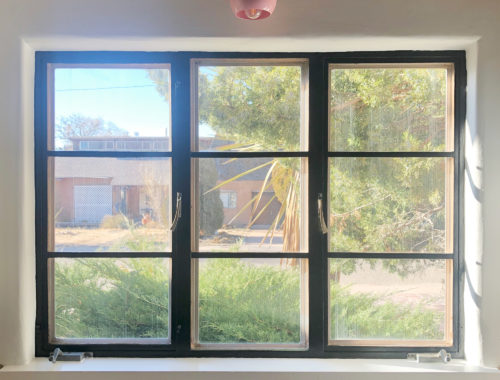
Before I even begin this post, let me offer a disclaimer: THIS IS NOT A GUIDE TO RESTORING STEEL CASEMENT WINDOWS. It is merely a documentation of my repainting of the inside…