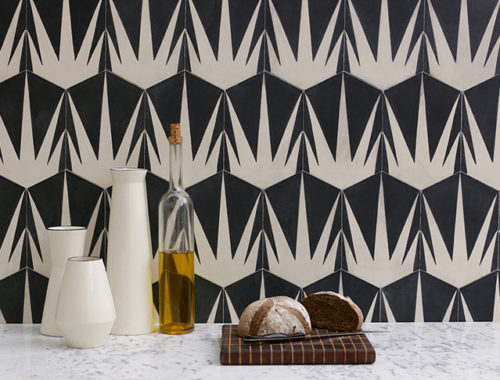
Now, I know what you’re thinking looking at this photo: That backsplash looks great already, Dorfman, why in the world would you want to tile over it? (Am I close?) Well, I’m…


Now, I know what you’re thinking looking at this photo: That backsplash looks great already, Dorfman, why in the world would you want to tile over it? (Am I close?) Well, I’m…
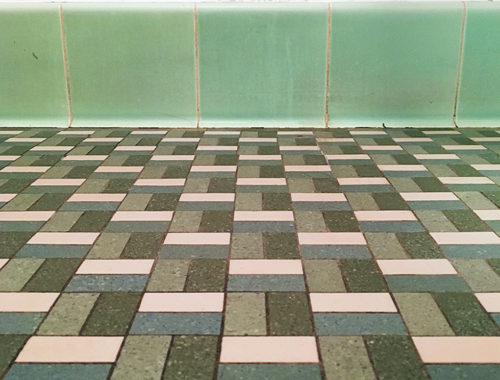
One of the best things about my house is that it’s barely been touched renovation-wise in the 78 years since it was built. With the exception of the kitchen floor and a…
I have a folder on my desktop called FUTURE BLOG. I endlessly drag URLs and photos into that folder, with the distant idea that someday I’ll get around to sharing this stuff…
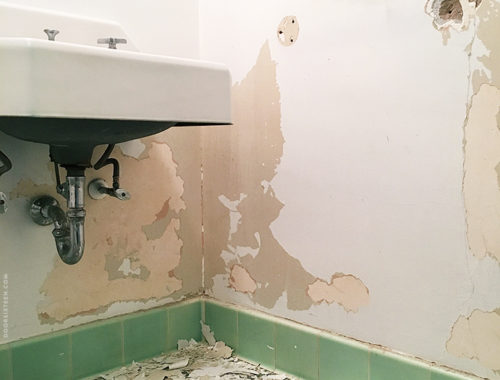
It’s Saturday and apparently nobody reads blogs on Saturday, so you know what? Let’s take a sneak peek at my bathroom. I haven’t done anything with it yet and I probably won’t…
OK, so I swear I’m not going to rename this blog temporarybacksplashes.com (oh hey, it’s available…), but fresh on the heels of my Smart Tiles awakening, a very nice D16 reader emailed…
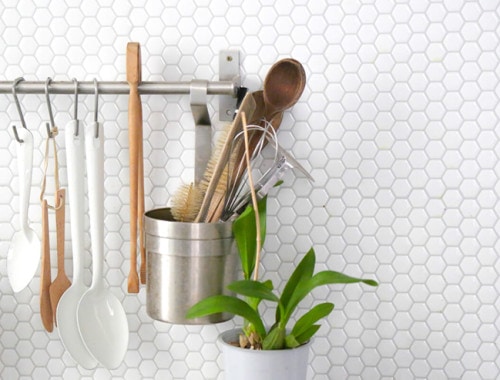
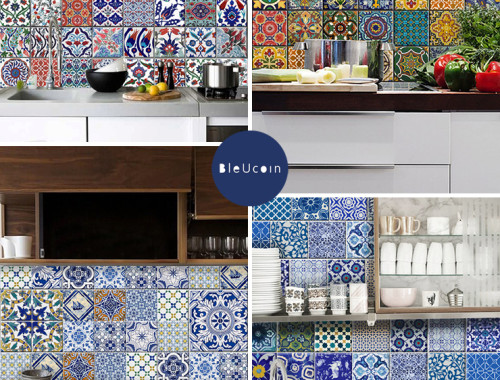
Photo from Atelier de Curiosite / view full set of photos & blog post After my post about removable wallpaper for backsplashes, I received a few emails asking that I post more…
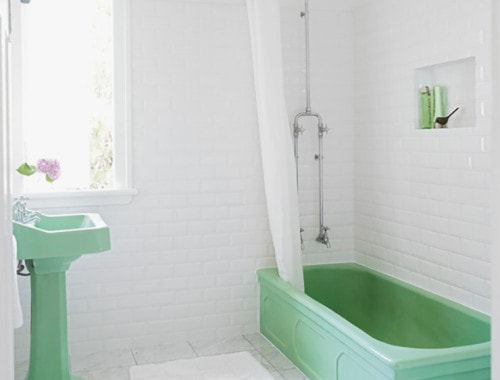
Photo via 1st Dibs How happy does this sink make you? Those knobs! That chrome! The minty goodness of it all! This beauty was designed by George Saiker for the American Radiator…
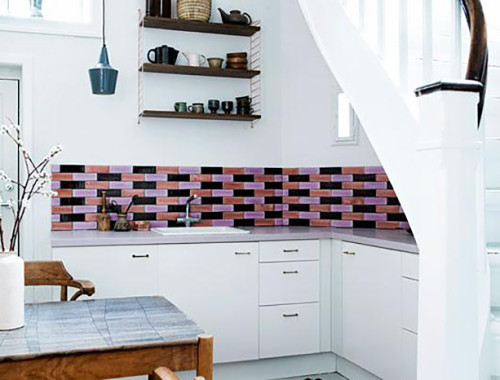
Purple and I have a difficult relationship. I don’t like to rule out any color from my home because I really do think it’s all about context, but purple…purple is tough. And…