I didn’t intend for this to be a food post, but looking at the photos I just rounded up, it’s looking like it’s going to be a food post. It’s been 55…
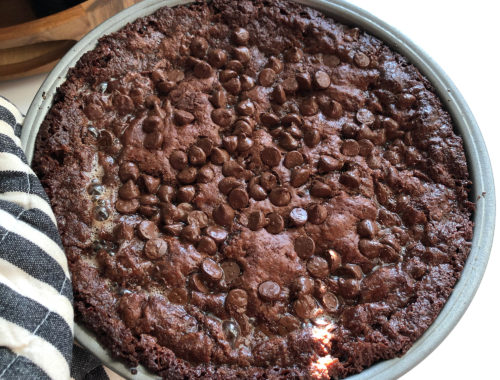

I didn’t intend for this to be a food post, but looking at the photos I just rounded up, it’s looking like it’s going to be a food post. It’s been 55…
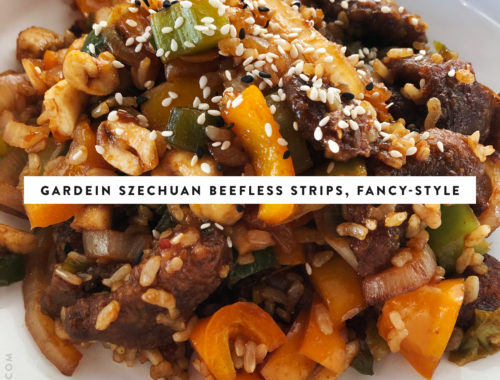
I have some friends (*ahem*—you know who you are) who have expressed to me recently that they’re a bit overwhelmed with having to suddenly cook for themselves at home instead of relying…
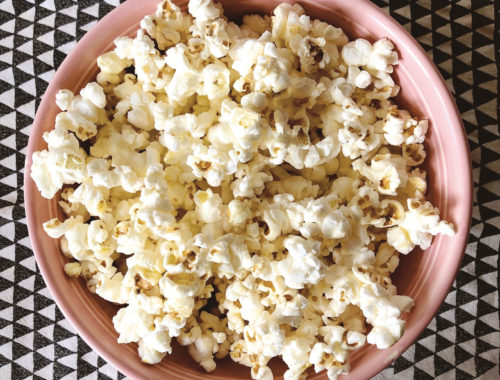
I watch a lot of movies. I’ve even started keep track of them all with the Letterboxd app. And yeah, I do love the movies themselves, but you want to know a…
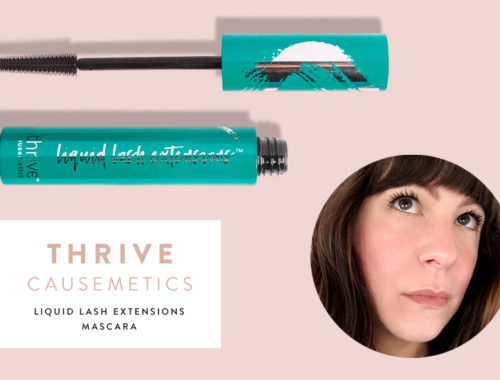
It’s been more than five years since my last mascara post, and in that time I’ve bounced from Ardency Inn’s Punker (which was discontinued, and since then the brand seems to have…
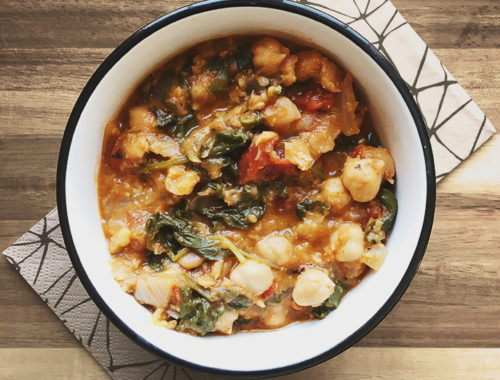
Lately I’ve been trying to simplify my lunches by making large dinners at the beginning of the week and then reheating the leftovers. This chickpea and spinach stew is something I adapted…
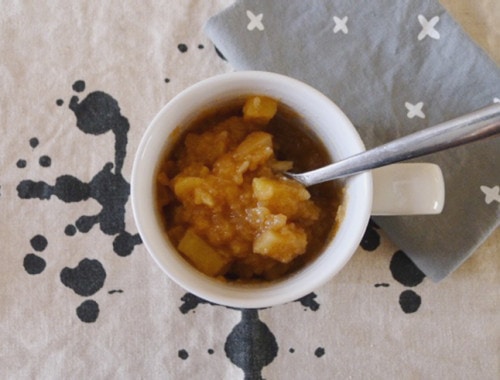
This post was supposed to be about the wonderful latkes and applesauce I made for Hanukkah, but it’s just about the applesauce. I read something somewhere the other day about how you…
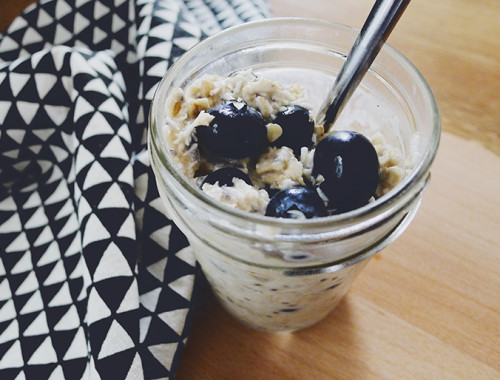
Overnight oats are nothing new, but they’ve always kind of been one of those things that I make all the time in my mind, yet in reality I’d only had them one…
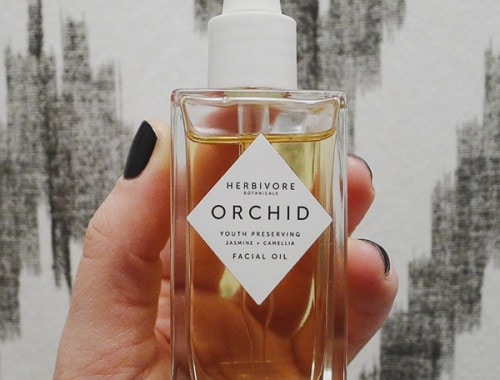
A couple of months ago, the nice people at Herbivore Botanicals contacted me asking if they could send me one of their soon-to-launched facial oils to try out. Uh…YES, that would be…